Crosshair
When you are in need of real-time dimensions, location or the bounding-box of an element, Crosshair should be your go-to tool.
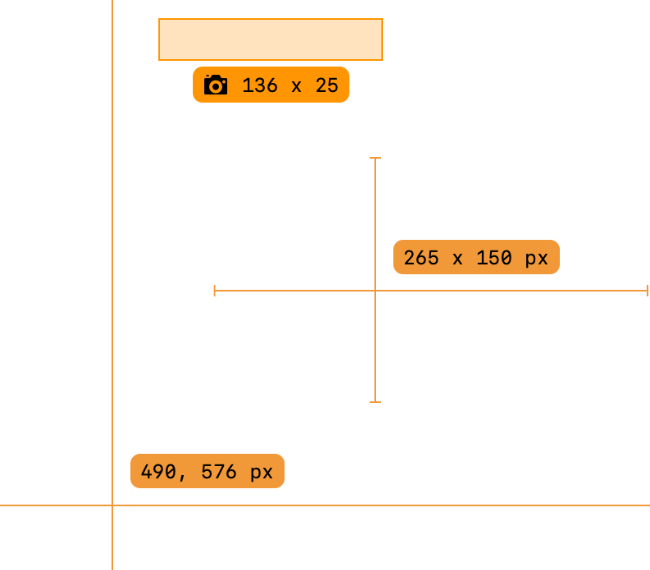
Table of Contents
Multiple modes
It has 3 modes in which it operates:
- Crosshair: gives you the location of the mouse on the screen and shows a vertical and horizontal line at the mouse point. This is also useful for quickly checking alignments.
- Distances: shows real-time distances between elements on the screen, as you move your mouse.
- Bounding Box: drag a rectangular selection around an area to show its minimum bounding-box. This is useful to quickly get the sizes of elements on the screen.
You can cycle between these modes with the
`key.
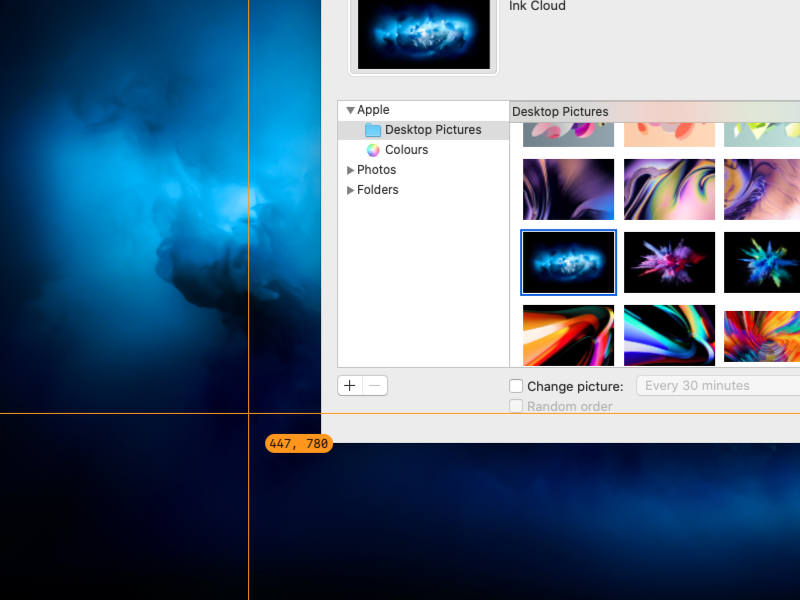
Crosshair mode
This the default mode when you start out in the Crosshair tool. It's a large crosshair that moves across your desktop and between monitors and follows your mouse. You can see the screen-relative location as well. The origin (0, 0) is at the top-left.
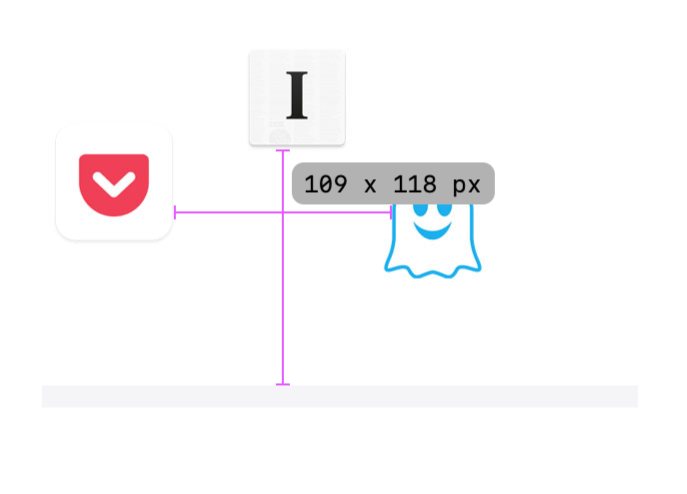
Distance mode
Use the Distance mode to get the real-time distances between screen elements. As you move your mouse across the various monitors, it will show you the vertical and horizontal distance between elements. You can see this in the video below.
Since this mode relies on some real-time image processing, there is an option to control the sensitivity of the algorithm.
There are 3 levels: Low, Medium and High. Use the S key to cycle between the 3 sensitivity levels.
At the Low level, the algorithm will be least sensitive to the color and contrast, which is useful for gradient or noisy backgrounds.
At the High level, the algorithm becomes super sensitive to color and contrast. This is useful if you want to be very precise in the measurement and when the background is a solid color.
The Medium level is a good balance between the two and also the default.
Measurements
Measurements can also be persisted on the screen using the Enter or Numpad Enter key.
This allows you to track previous measurements while you measure other distances.
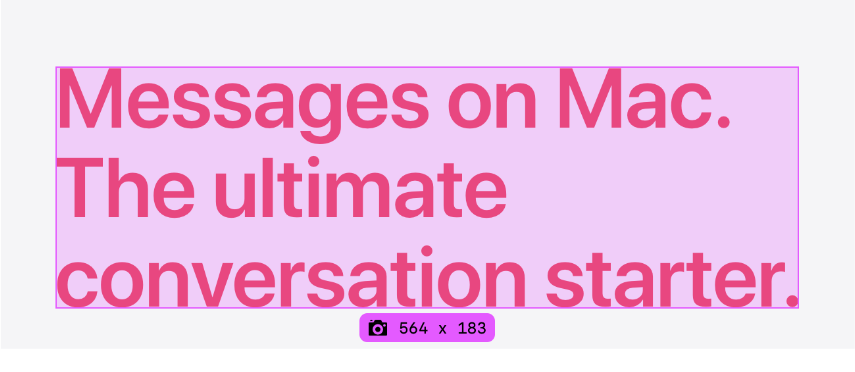
Bounding Box mode
Bounding boxes around elements can be detected simply by dragging a rectangular selection around the element. This can be seen in the video below.
This mode has the same sensitivity option as the Distance mode.
Using the S key, you can cycle between the Low, Medium and High levels.
Taking screenshots
Once a bounding-box measurement is made,
you can click the ![]() icon to take screenshots.
icon to take screenshots.
Measurements
Measurements can also be persisted on the screen using the Enter or Numpad Enter key.
This allows you to track previous measurements while you measure other boxes.
Moving around
For the Crosshair and Distance modes, you can also move the position using just the keyboard shortcuts. These are:
←to move left by 1px→to move right by 1px↑to move up by 1px↓to move down by 1px
Hold the Shift key along with the above shortcuts to move by 10px instead.
Moving between monitors
The tool takes care of moving between monitors as you navigate at the edges of the screens.


- Copyright © 2021 PIXELINGENE LLC. All Rights Reserved.
- Terms of service • Privacy Policy
- Photoshop ® is registered trademark of Adobe Inc.
- Latest release build:
2.8.644